Supported Audio Formats
Mx. Voice supports the following audio formats:
- MP3 (.mp3)
- WAV (.wav)
- OGG (.ogg)
- FLAC (.flac)
- M4A (.m4a)
- MP4 (.mp4)
- AAC (.aac)
Adding a Single Song
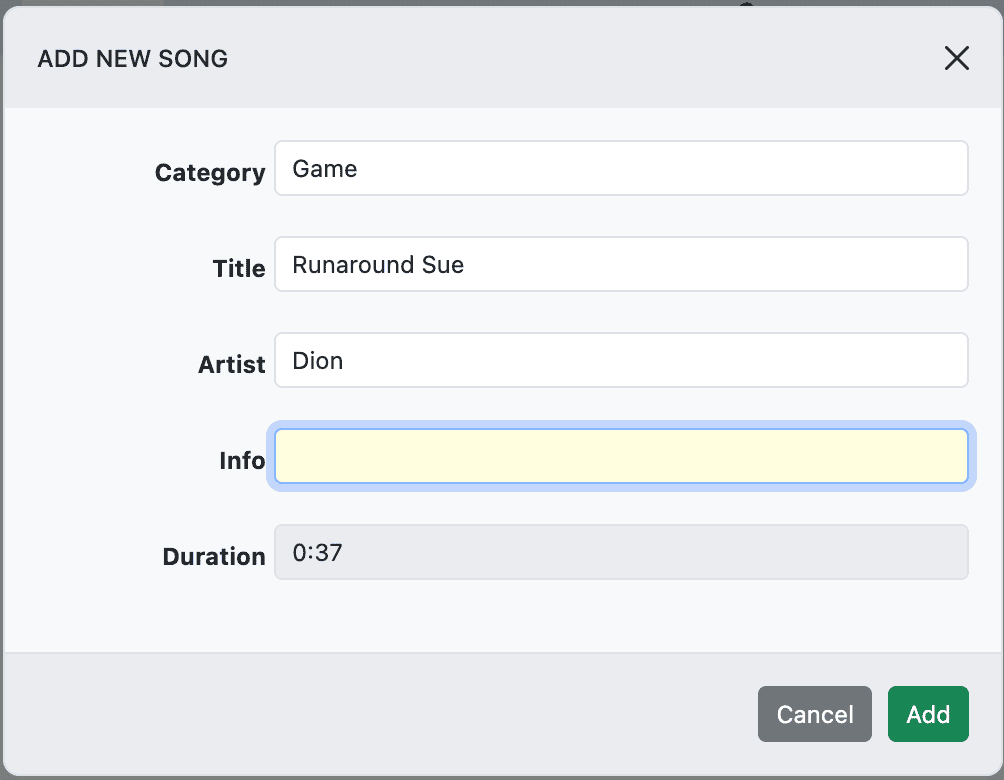
- Open the Add New Song dialog.
- Select an audio file from your computer.
- Fill in the metadata:
- Title (required) — auto-populated from the file’s metadata if available, otherwise from the filename.
- Artist — auto-populated from metadata.
- Category (required) — select from existing categories or create a new one.
- Info — optional notes or tags.
- Duration — automatically calculated (read-only).
- Click Add to save the song to your library.
The audio file is copied into your configured audio files directory with a unique filename to prevent conflicts.
Bulk Import
The fastest way to build your library. Import an entire directory of audio files at once.
- Open the Bulk Add dialog.
- Choose a source directory containing your audio files.
- Select a category for all imported songs (or create a new one).
- Click Add Songs.
Mx. Voice scans the directory recursively (including subfolders) and for each audio file:
- Extracts metadata (title, artist, duration) from the file.
- Creates a database entry.
- Copies the file to your audio files directory.
Editing Song Metadata
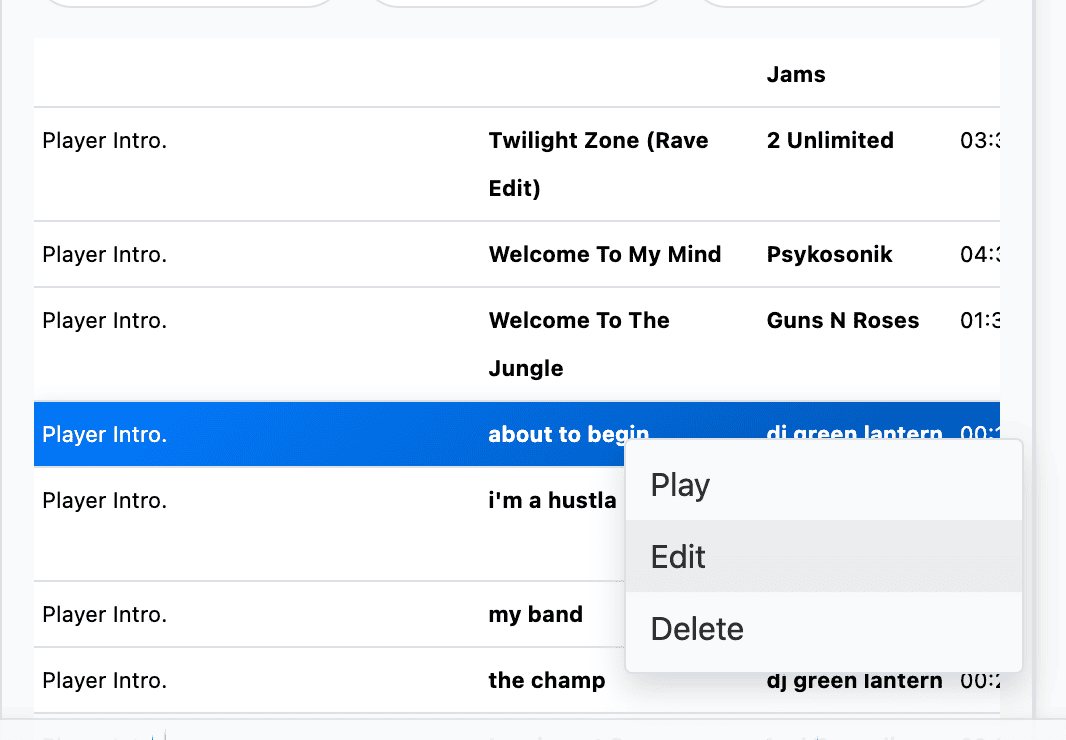
- Select a song in the search results.
- Open the edit dialog (double-click or use the edit action).
- Update the Title, Artist, Category, or Info fields.
- Click Save. The search results refresh automatically.
Duration cannot be edited — it’s always calculated from the audio file.
Deleting Songs
- Select a song in the search results.
- Press Delete.
- Confirm the deletion in the dialog.
Deleting a song removes it from the database and deletes the audio file from your music directory. The song is also removed from any hotkey or holding tank assignments.
Managing Categories
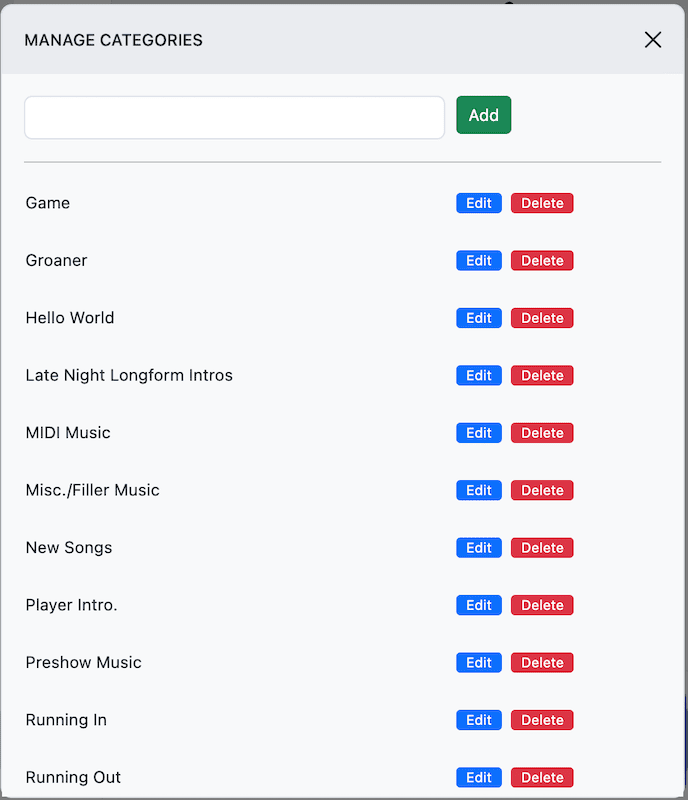
Categories help you organize your audio library. Each category has a short code (up to 4 uppercase letters) and a description.
Creating a Category
- Open the Category Management dialog.
- Enter a description (e.g., “Sound Effects”).
- Click Add. A 4-letter code is auto-generated (e.g., “SOUN”).
Editing a Category
In the Category Management dialog, edit any category’s description inline and click Save Changes.
Deleting a Category
Click the delete button next to a category. All songs in that category are automatically reassigned to an “Uncategorized” category.